
Soil Sampling Technique
Main objectives of soil testing
- To identify the soil problems like acidity, salinity, alkalinity and pollution, and suggest remedial measures.
- To find out the fertile strength of the soil and recommend the amount of fertilizers accordingly.
- To assess the benefits of the use of fertilizers and help in future planning.
- To map the fertility of the soil and on the same basis to study the changes over time in the fertility of the soil in a particular area and to guide in the distribution of fertilizers.
Method of Sampling
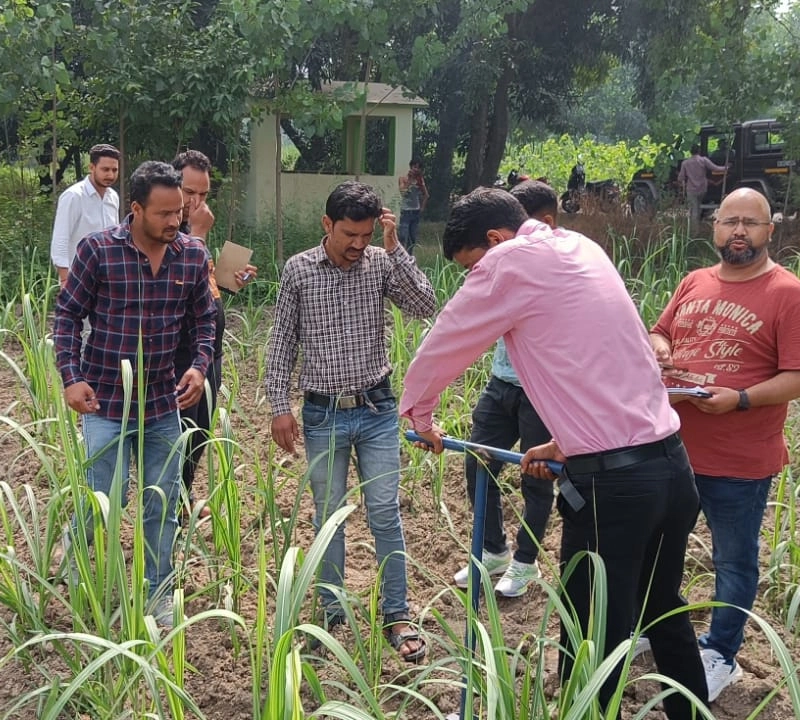
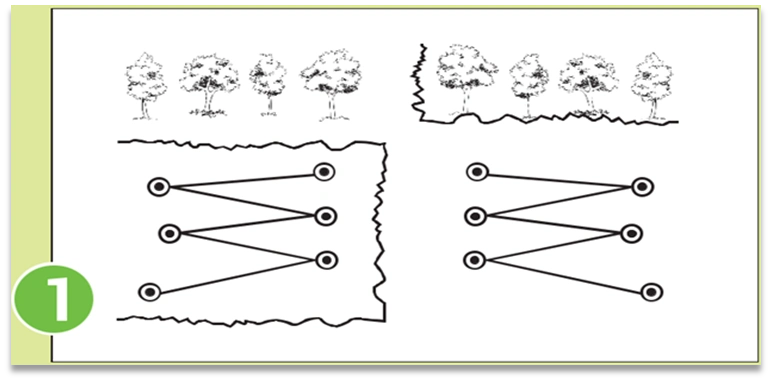
Survey of the field
First of all, after surveying the field, divide it according to size, slope, color and crop. After this, mark 6-8 marks in each demarcated field part by walking erratically (Fig 1). The size of each farm should not exceed one acre. If the whole field is very uniform, then only one representative sample can be made from one hectare (2.5 acres).
Selection of tools
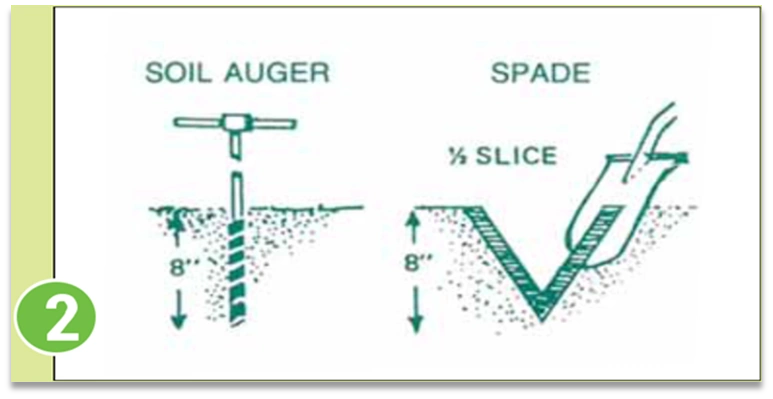
Sampling depth
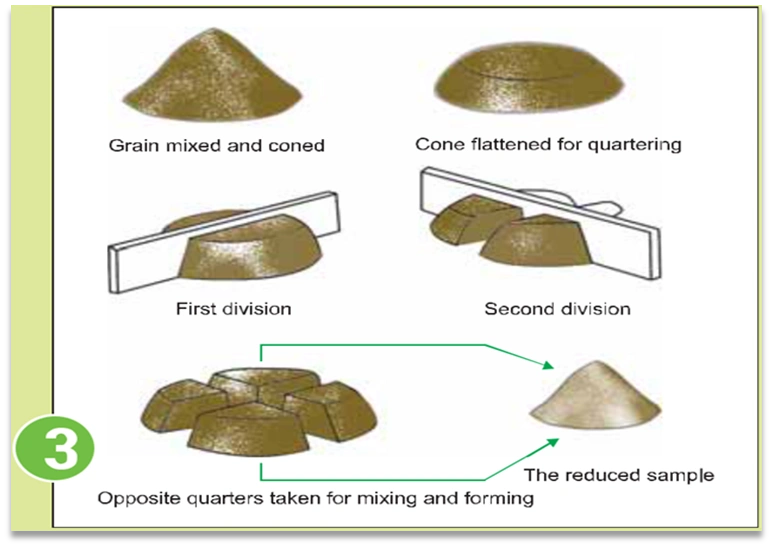
Sample preparation
Sample labeling
Other necessary information
Identification mark on the samples, depth of sampling, cropping system, quantity and timing of fertilizers used, irrigation facility, drainage and the name of the desired crop, for which crop the fertilizer recommendation are required.
Precautions
Right time of soil test-
When to get the test done again?
Can I do a soil test myself?
Yes, it can be done with soil testing kit (Dharti ka Doctor). But it can provide only limited information or can determine some soil parameters only. Furthermore, interpretation of test results is very important and a farmer cannot perform that alone without the subject matter expert.
Irrigation water testing is also necessary.
Strengths of soil testing laboratory
- Well trained lab staff and qualified scientists.
- Equipped with Hi-end equipments and advanced technology.
- In-time soil sample analysis and generation of report.
- Cost-effective service to farming community and other stake holders.